
As you all know I've been in love with android since '09. I switched to iOS once but the openness of Android pulled me back. The love for Google Services was what actually pulled me back. I was using almost everything GOOGLE !
I have had a lot of android devices and I even got a companion for my daily driver. The new thing in the android world was Android Wear so I ordered a LG G Watch as it was being sold for approximately $100.
My experience with Android Wear was great, I received a few updates on my watch and Android Wear 5.0 was fabulous. I had a huge collection of watch faces and some classic games on my wrist. I could even match the color of my watch with the color of my dress. I was in love with it, Android Wear became an essential part of my life
BUT!! ... .
Windows Phone, I've never thought of it until a few days back. I've been all over YouTube, searching for everything related to Windows Phone. I even went through the detailed Build Videos posted by Windows. I was in Virtual Love with Windows Phone. I had urges running through me, I was being compelled to purchase a Windows Phone because no matter how much I loved Android, it was like the girlfriend who you love a lot but there are a few things that she does which you hate and would eventually lead to a BREAK UP!!
It was time for a CHANGE. I was going to keep my Android device as a second phone because you can't go ahead and break up suddenly with someone you've been in love with for years. So I guess I was going to date Windows phone behind Android's back, is this called CHEATING?
So I started searching for a nice affordable Windows device, I didn't want anything too damn powerful and I didn't want to spend a lot of money because I don't know if this new relationship would keep me happy in the long run.
.png)
I searched a lot and I found the rightgirl/smartphone for me and it was the Microsoft Lumia 640 and I ordered the Cyan color because it was like 'Love at first sight'. My device is incoming and I'll post updates about the new journey I'm about to start soon ... So stay tuned.
You can check out the Microsoft Lumia 640 below:
Lumia 640
Buy the Lumia 640:
From Flipkart
I have had a lot of android devices and I even got a companion for my daily driver. The new thing in the android world was Android Wear so I ordered a LG G Watch as it was being sold for approximately $100.
My experience with Android Wear was great, I received a few updates on my watch and Android Wear 5.0 was fabulous. I had a huge collection of watch faces and some classic games on my wrist. I could even match the color of my watch with the color of my dress. I was in love with it, Android Wear became an essential part of my life
BUT!! ... .
Windows Phone, I've never thought of it until a few days back. I've been all over YouTube, searching for everything related to Windows Phone. I even went through the detailed Build Videos posted by Windows. I was in Virtual Love with Windows Phone. I had urges running through me, I was being compelled to purchase a Windows Phone because no matter how much I loved Android, it was like the girlfriend who you love a lot but there are a few things that she does which you hate and would eventually lead to a BREAK UP!!
It was time for a CHANGE. I was going to keep my Android device as a second phone because you can't go ahead and break up suddenly with someone you've been in love with for years. So I guess I was going to date Windows phone behind Android's back, is this called CHEATING?
So I started searching for a nice affordable Windows device, I didn't want anything too damn powerful and I didn't want to spend a lot of money because I don't know if this new relationship would keep me happy in the long run.
.png)
I searched a lot and I found the right
You can check out the Microsoft Lumia 640 below:
Lumia 640
Buy the Lumia 640:
From Flipkart
.png)
.png)
.png)
.png)
.png)
.png)
.png)
.png)
.png)
.png)
.png)
.png)
.png)
.png)
.png)
.png)
.png)
.png)
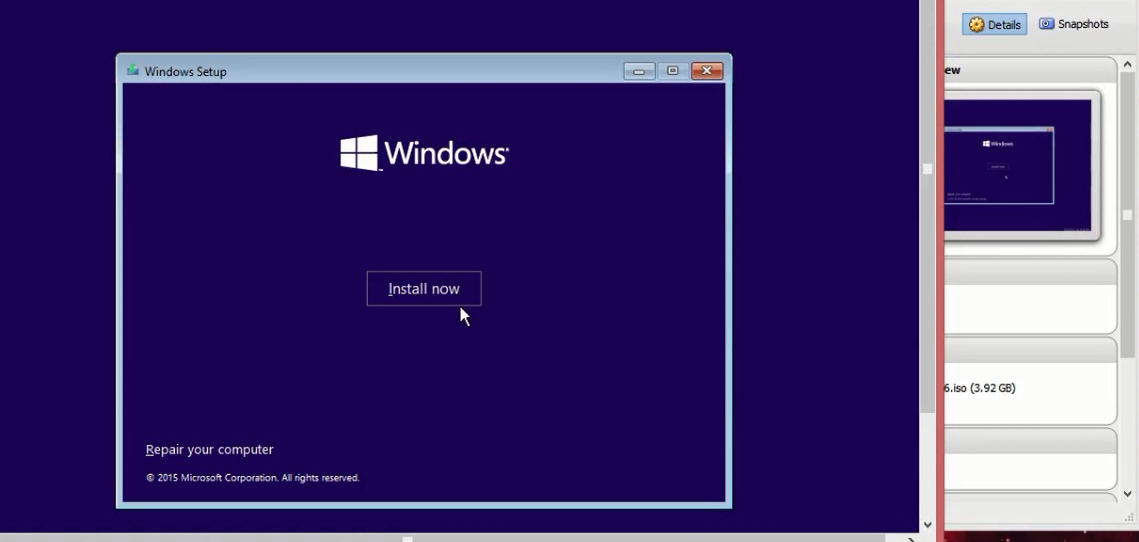.png)
.png)
.png)
.png)
.png)
.png)
.png)
.png)
.png)
.png)
.png)
.png)
.png)
.png)
.png)
.png)
.png)
.png)
.png)


.png)
Switching To a Windows Phone